First, download the HiHello app. When you open the app, you will be asked to signup with either Facebook, Twitter, or Google or using your email. We use the social logins to help speed up your onboarding process by pulling in your name, email and most importantly your profile picture.


Once you have finished onboarding, you will see four cards: Work, Personal, Email, & Phone. It’s time to customize your cards to your liking! You can tap any of these cards, and then tap Edit, to add more information on these cards. Our initial onboarding just setups up a very basic card for you. To impress the people you meet, you can add your company logo, your title, your company, a headline message, various social profiles, address, phone numbers, email and more.


When you meet someone and want to give them your card, you want that card accessible faster than someone could say “Sorry, I forgot my business cards!” With the HiHello widget your cards are accessible just with a swipe and a tap, even if your phone is locked.

Installing the widget on iOS requires a few simple steps:
1. From the home screen on your phone swipe to the right to show the iOS widgets.
2. Scroll all the way to the bottom of the page and tap on Edit.
3. Scroll down till you find HiHello and tap the green + icon to add the HiHello widget.
4. Scroll up to locate the HiHello widget and use the three line on the right to drag it to the top of your widget list.
Now even when your phone is locked if you swipe over to the widgets (swipe right) you will see your HiHello cards listed there. A single tap on the card you want to share will take you directly to the share screen for that card. This is how you can discreetly choose the card you want to share with someone, so that you give the right information to the right people.
When you’re ready to share your card, ask the person you met to simply open the camera on their phone. On all iOS devices and on most Android devices, the native camera will read a HiHello code and prompt the user to open the link.
If you encounter someone with an older model Android, or a Samsung phone (get a hint Samsung!), then you can send them the link to your card instead. Yes, this isn’t as smooth, but this issue will go away in the near future as all phones are able to scan QR codes.

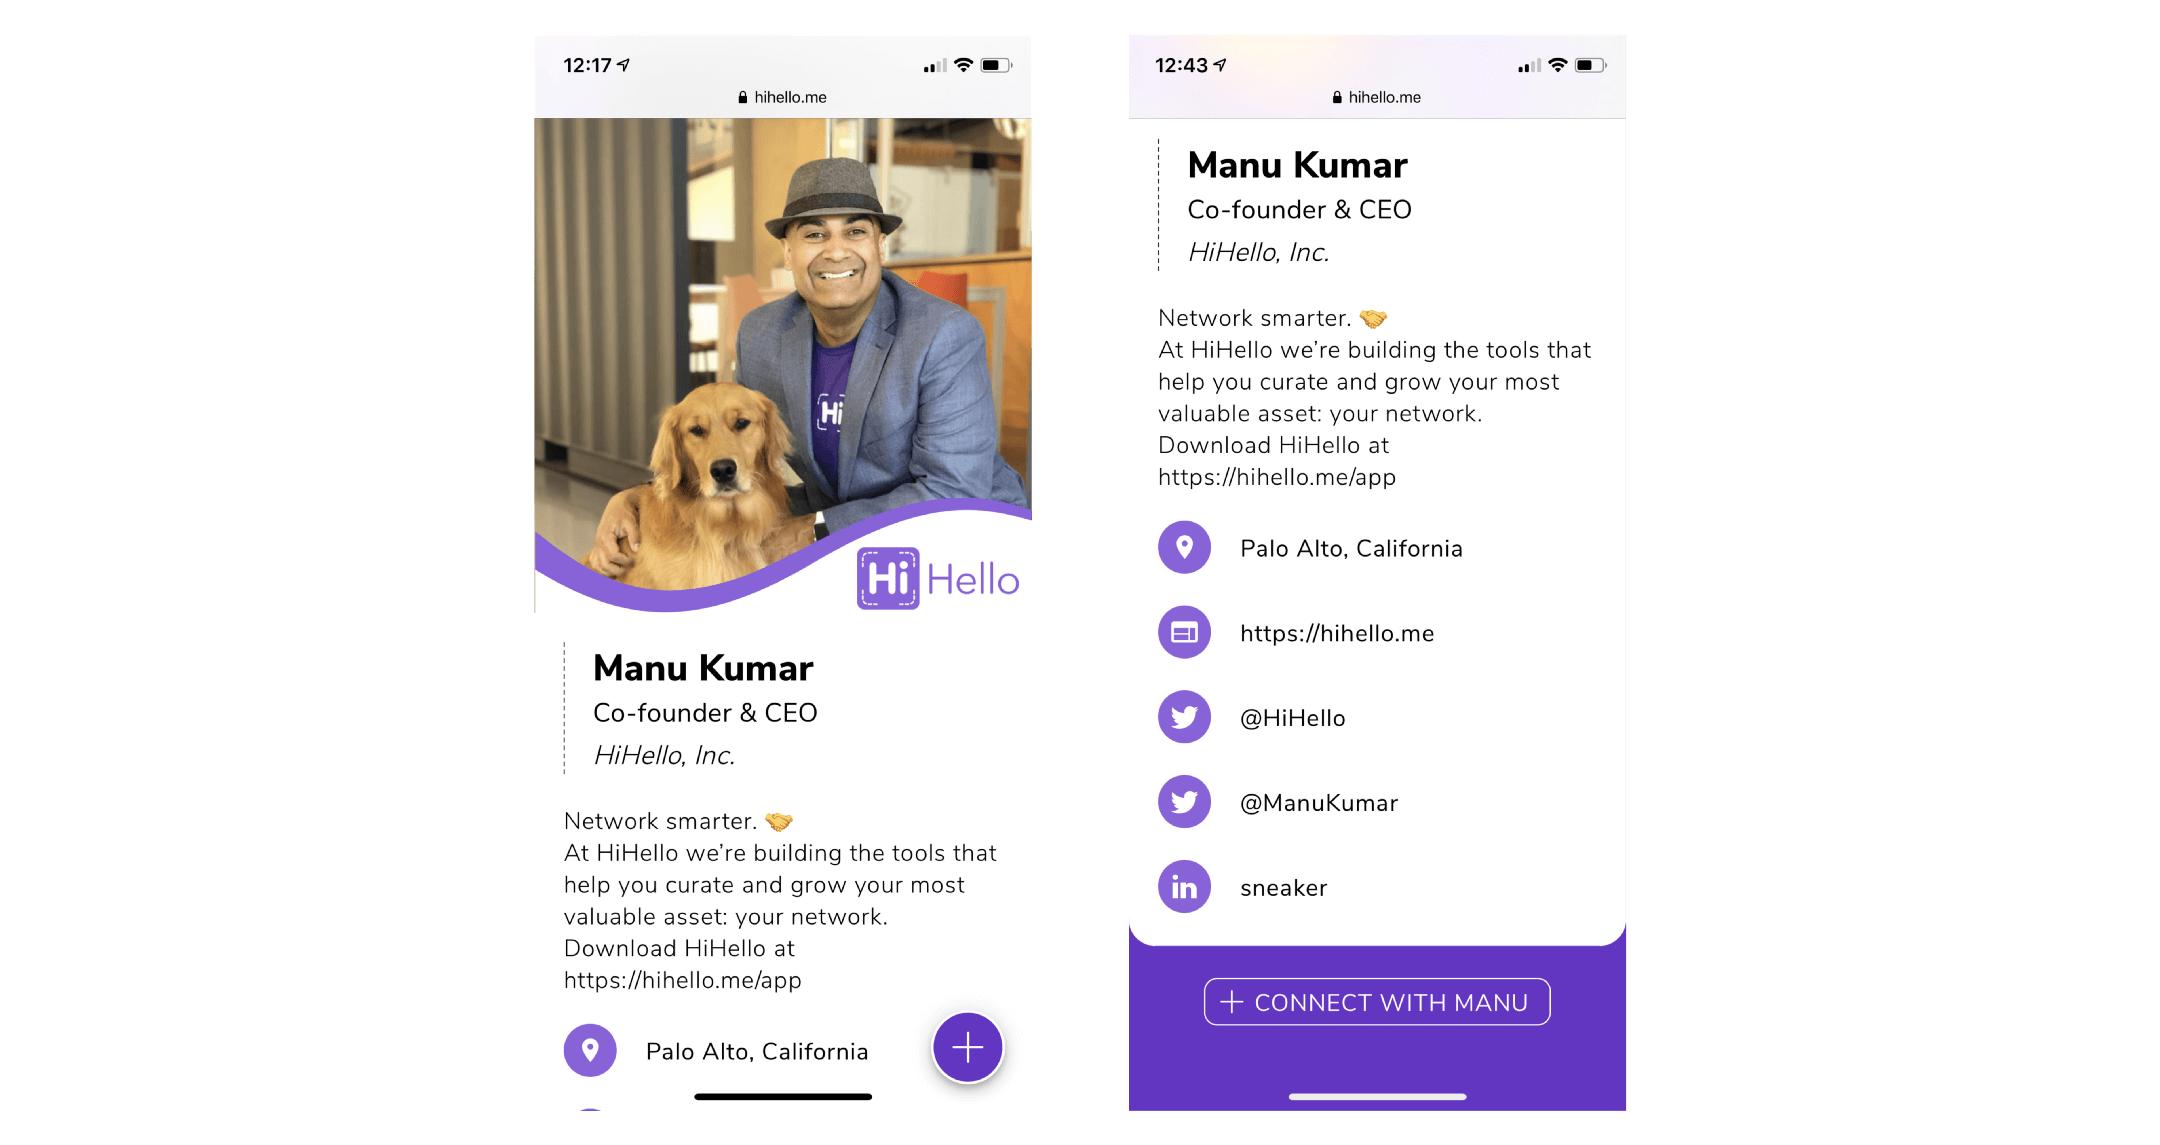
The recipient will see your beautiful web card right there on their phone. This is the card you prepared earlier in Steps 1–2.
When the recipient taps the + or Connect button on the web card, they will be prompted to enter their name and email. With this flow, HiHello has made it easy to request someone’s contact information in electronic form. As soon as they enter this information HiHello will send them an email with your card and a contact file attached. At the same time HiHello will also send you an email with their name and email included and a reminder to follow up.

Simply respond to the email you receive from HiHello to follow-up with the person you met. Their name and email is right there waiting for you when you get back to your desk or phone with a moment to spare. Following up is the first step to connecting with someone new and building that relationship. As we like to say at HiHello, that’s how you turn handshakes into relationships.

We hope HiHello helps you connect with more people, and grow and expand your most valuable asset: your network.
We welcome your feedback! If you have ideas on how we can make HiHello even better, we’d be delighted to hear from you at feedback@hihello.me.


